


How to Build a Wooden Compost Bin on a Budget (And Still Have Money for Pizza)
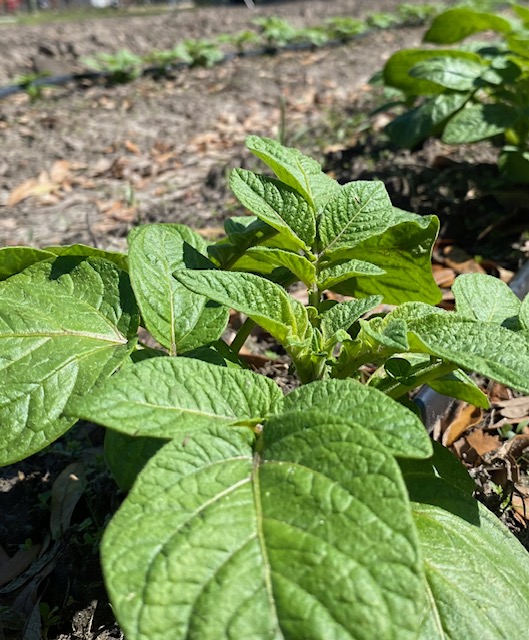
So, you’ve decided to compost. Congratulations! Not only are you about to save the planet one compost bin at a time, but you’re also giving your garden that rich, crumbly, black gold it craves. But compost bins can be pricey, and we all know you’d rather keep that cash for life’s essentials—like pizza. Never fear! You can build a wooden compost bin on a budget and still have enough leftover to splurge on extra toppings.
Here’s your step-by-step guide to making it happen, with a sprinkle of humor to keep you entertained while wielding a hammer.
Step 1: Scavenge Like a Pro (AKA the Art of Free Stuff)
Before heading to the hardware store, channel your inner treasure hunter. Look for free or cheap wood that’s sturdy enough to withstand the elements but not so fancy it feels like overkill. Here are some great sources:
- Pallets: Many businesses give them away. Check grocery stores, hardware shops, or industrial warehouses. Bonus: pallets scream “rustic charm.”
- Scrap Wood: Leftovers from construction projects are perfect. Politely ask your DIY-savvy neighbor or raid your garage (we won’t judge).
- Old Furniture: That rickety wooden dresser in the corner? It’s not just junk; it’s compost bin material in disguise.
Pro Tip:
Avoid wood that’s treated with chemicals—they can leach into your compost and, by extension, your veggies. Nothing ruins a salad like “subtle hints of arsenic.”
Step 2: Gather Your Tools (No Power Tools? No Problem)
Once you’ve got your wood, you’ll need some basic tools. Most of these are budget-friendly, and there’s a good chance you already have them lying around:
- Hammer or drill (if you’re feeling fancy)
- Nails or screws (whichever you’ve got on hand)
- Saw (hand saws work fine if you’re embracing old-school vibes)
- Measuring tape (or a really good guess)
Feeling extra broke? Borrow tools from a friend or hit up a tool library. Yes, those exist.
Step 3: Design Your Bin (With No Architect Required)
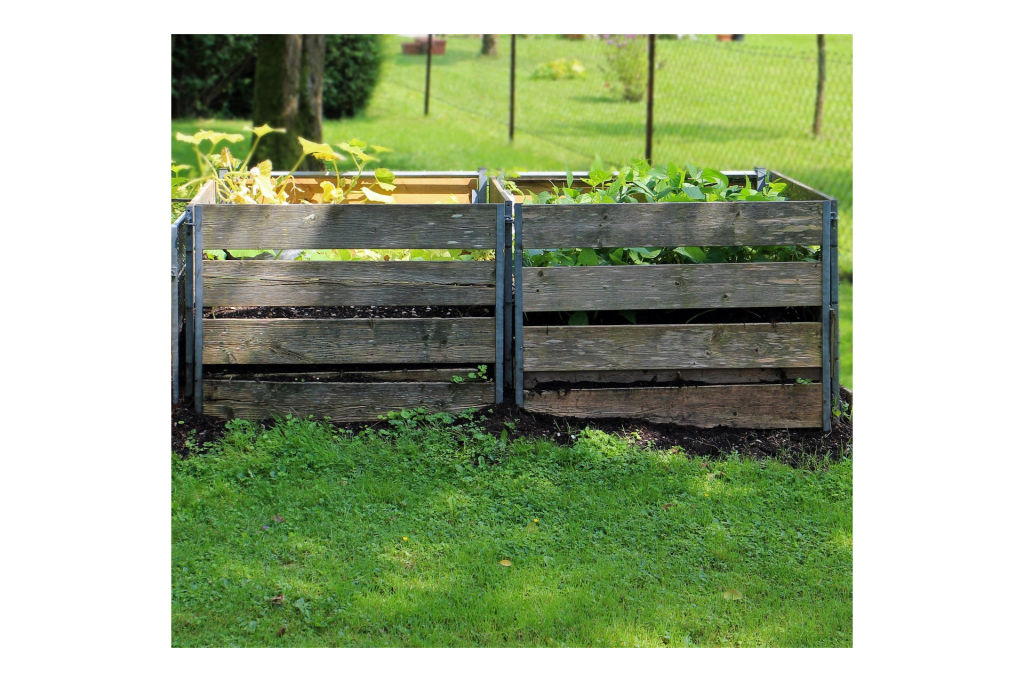
The beauty of a wooden compost bin is its simplicity. Here’s a foolproof, three-compartment design that even your cat would understand:
- Three-Sided Frame: Start by creating a sturdy, open box with no lid. This will be your basic structure.
- Dividers: Add two internal dividers to create three sections. Why three? So you can separate compost into stages: fresh scraps, mid-decomposed mush, and ready-to-use dirt.
- Airflow: Leave small gaps between the wood slats to keep the compost breathing. Your garden might not have lungs, but your compost does.
If your measurements aren’t perfect, don’t sweat it. Compost doesn’t care if your bin is a little wonky. It’s decomposing trash, not modern art.
Step 4: Assemble Like a Boss (Or at Least Try)
Now for the fun part: putting it all together!
- Start with the base. Lay down your foundation by building a rectangle or square out of your wood pieces.
- Add the sides. Whatever design you desire. It’s your compost bin so make a design that makes you happy.
- Now for the dividers. Dividing your bin will keep your compost organized, and make you look like a seasoned farmer.
Step 5: Place and Decorate (Optional but Fun)
Find a cozy spot for your bin. Ideally, it should be close to your kitchen (easy scrap-dumping access!) but not so close that it becomes a front-row seat to nature’s stinkiest show.
Feeling fancy? Paint the outside of your bin (with eco-friendly paint) or add a cute sign. Something like, “Compost Happens” will remind you why you’re doing this in the first place.
Step 6: Compost Like a Pro
It’s time! Toss in fruit peels, veggie scraps, coffee grounds, and yard waste. Just avoid meat, dairy, or oily foods unless you want raccoons to throw a rave in your backyard.
Final Thoughts
Building a wooden compost bin on a budget is as easy as it is rewarding. Not only will you feel smug every time you chuck a carrot top in there, but you’ll also be saving the planet and your wallet. Plus, with all the money you’ve saved, you can treat yourself to that pizza—extra toppings included.
So, grab your tools, channel your inner carpenter, and let the composting begin.


Leave a comment